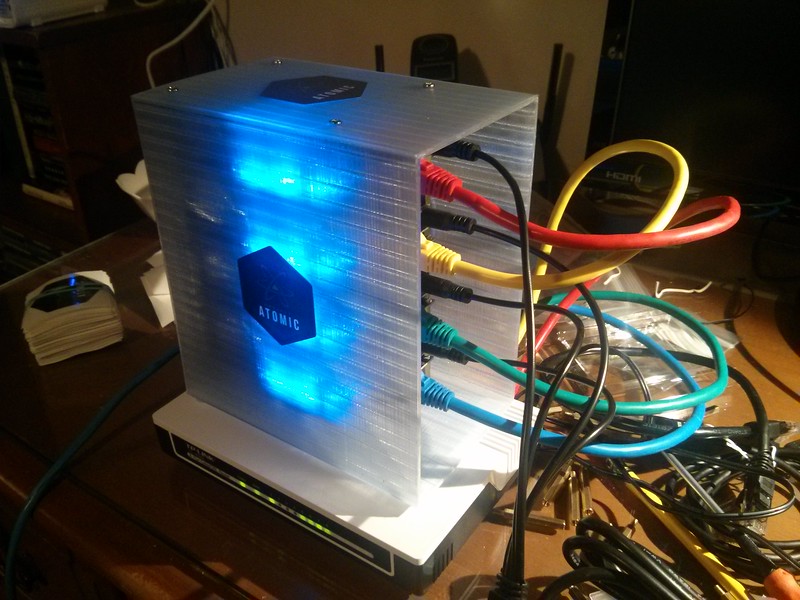
Look, new case! 3D printed, thanks to Spot Callaway.
In my previous install of the Subatomic Cluster, I simply did the manual Ananconda install. However, since this cluster is for testing, I wanted a way to re-install it rapidly so that I can test out various builds of Atomic. This time, I was installing CentOS Atomic so that I could test things out on CentOS Atomic Continuous.
I also wanted to fix the disk allocation. Due to various limitations, the initial root partition for a new Atomic Host is of fixed size (3GB) regardless of the amount of disk space available. I wanted to increase that to 1/3 of the 64GB size of each SSD.
Enter Kickstart, which is the standard installation automation system used by Fedora, CentOS, RHEL, and other Linux distributions. I was more familiar with Kickstart as part of a PXEboot network install, and re-installing the cluster required something simpler. In this case, a Kickstart file on the network, combined with editing the boot line for install. Since the Kickstart documentation is extensive enough to be confusing, here’s some simple examples.
First, I created an atomic-ks.cfg file and dropped it on my laptop; see below for the full file. I’ve added comments in the example file so that you can understand what it’s doing and modify it for your own use. I then served this file on the local network just using python -m SimpleHTTPServer. I’ve annotated the atomic-ks.cfg file so that you can use it as a base for your own.
# usual setup
install
reboot
lang en_US.UTF-8
keyboard us
timezone --utc America/Los_Angeles
selinux --enforcing

# clear the disk and create a new mbr partition for boot
zerombr
clearpart --all --initlabel
bootloader --location=mbr --boot-drive=sda
reqpart --add-boot

# create a new logical volume and group for everything lese
part pv.01 --grow --ondisk=sda
volgroup atomicos pv.01

# add a 20GB XFS partition for root
logvol / --size=20000 --fstype="xfs" --name=root --vgname=atomicos

# add a 2GB swap partition
logvol swap --fstype swap --name=lv_swap --vgname=atomicos --size=2048

# disable cloud-init, enable ntp, docker and ssh
services --disabled="cloud-init,cloud-config,cloud-final,cloud-init-local" --enabled="systemd-timesyncd,network,sshd,docker"

# set up OSTree to pull a tree from the USB key
ostreesetup --osname="centos-atomic-host" --remote="centos-atomic-host" --url="file:///install/ostree" --ref="centos-atomic-host/7/x86_64/standard" --nogpg

# create static network interface, for Kubernetes setup.  Requires changing this line
# for each machine
network --device=link --bootproto=static --ip=192.168.1.102 --netmask=255.255.255.0 --gateway=192.168.1.1 --nameserver=192.168.1.1

# create sudo user.
user --name=atomic --groups=wheel --password=atomic

# reset ostree to upstream
%post --erroronfail
rm -f /etc/ostree/remotes.d/centos-atomic-host.conf
ostree remote add --set=gpg-verify=true centos-atomic-host 'http://mirror.centos.org/centos/7/atomic/x86_64/repo'
%end
I then booted each minnowboard off the USB. There was one manual step: I had to edit the grub boot menu and tell it to use the kickstart file. When the boot menu comes up, I selected Install Centos 7
, pressed e
and edited the linuxefi boot line:
linuxefi /images/pxeboot/vmlinuz inst.ks=http://192.168.1.105:8000/atomic-ks.cfg inst.stage2=hd:LABEL=Centos-Atomic-Host-7-x86_64 quiet
After that, it’s all automatic. Anaconda will partition, install, and boot the system.
Want to see the sub-atomic cluster running? Join us at ContainerDays Austin or KubeCon.
Thanks to Dusty Mabe and Matthew Micene for helping me create this Kickstart config and troubleshoot it